 It’s always good to see new software that looks like it’s on the right track. And it’s even better when a company like Microsoft finally listens to their customers and comes out with a preview of the next release of windows that looks like it’s on the right track. I recently had the opportunity to install the Windows 10 tactical preview on my virtual machine. I was very impressed with the ease of install and the ability to get it up and running quickly. Technical previews are not always this way. But beyond the installation, what I saw surprised me.
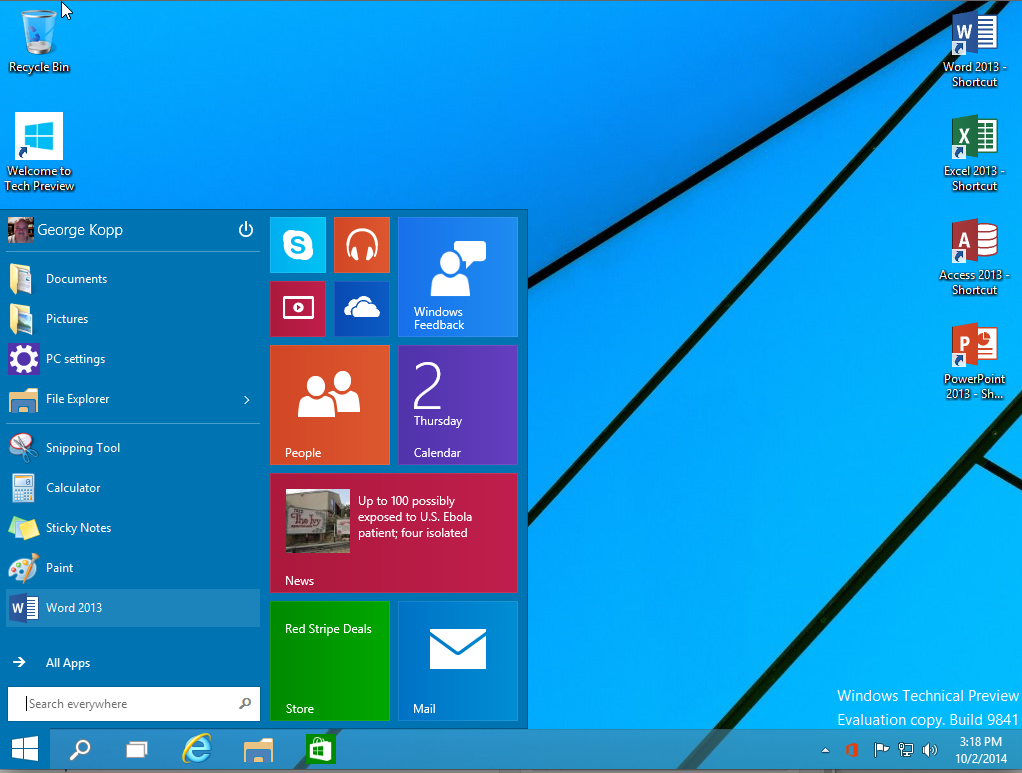
Windows 10 technical preview shows me that Microsoft has been listening to its customers. Finally!
Most of the real issues with Microsoft current Windows 8 have been addressed in this preview. All of the things related to the metro-based apps, the fact that they use full-screen, the lack of the start menu, the lack of shortcuts and the ability to do things with the keyboard, are all there in Windows 10. In fact, if you go out to the web and read all the things people hate about Windows 8, the majority have been fixed and windows 10. The old Microsoft would not have done this. The old Microsoft would’ve thought they knew better. But this preview is not from the old Microsoft.
There have been many changes in Microsoft and their windows development over the last couple of years. Some of those include new leadership. Rather than the combative attitude of Steve Ballmer who believed he knew better than all of his customers, we are seeing a Microsoft that understands that customers are the ones who drive use of their product. The changes in Windows 10 are a wonderful start. In fact, if Microsoft released this tomorrow, I would be willing to recommend to my clients that they go this direction, particularly on new machines or replacements for Windows XP. Today, I universally recommend Windows 7.
So I believe there’s hope here. Microsoft needs to continue this product development and get it out as quickly as possible. This is an all new windows. Not new in the way it works, actually it’s older in the way it works in that Windows 7 functions are used here much more than Windows 8. Windows 8 Will become the new Windows Millennium. The product and everybody wishes they skipped if they didn’t.
Microsoft didn’t say anything about price when they put out the technical preview. Microsoft needs to consider price when it releases this product though. I certainly cannot imagine Windows 8 users who have suffered through the use of Windows 8 would have to pay anything for a Windows but actually is something people want to use. So Windows 8 upgrade must be free. But more than that, Microsoft needs to reduce the upgrade price of windows. It needs to follow the direction of Apple and Google in providing free operating system updates. If Microsoft wants to grow their marketshare again, this is the way to make it work. But I don’t suspect it will be free for users of Windows below Windows 8. So let’s all hope that the price is something at least reasonable.
The real problem is what do you recommend to someone who needs a new PC now. I’m going to continue to recommend Windows 7, but I’m certainly going to tell them about Windows 10 and the good things Microsoft may have just around the corner.

 Apple’s Pages application provides a number of high-quality easy to use templates to create documents quickly that look very professional. One of the things I often get a question about when people begin to use these templates is why Apple creates them in some foreign language. Here’s the question I usually see:

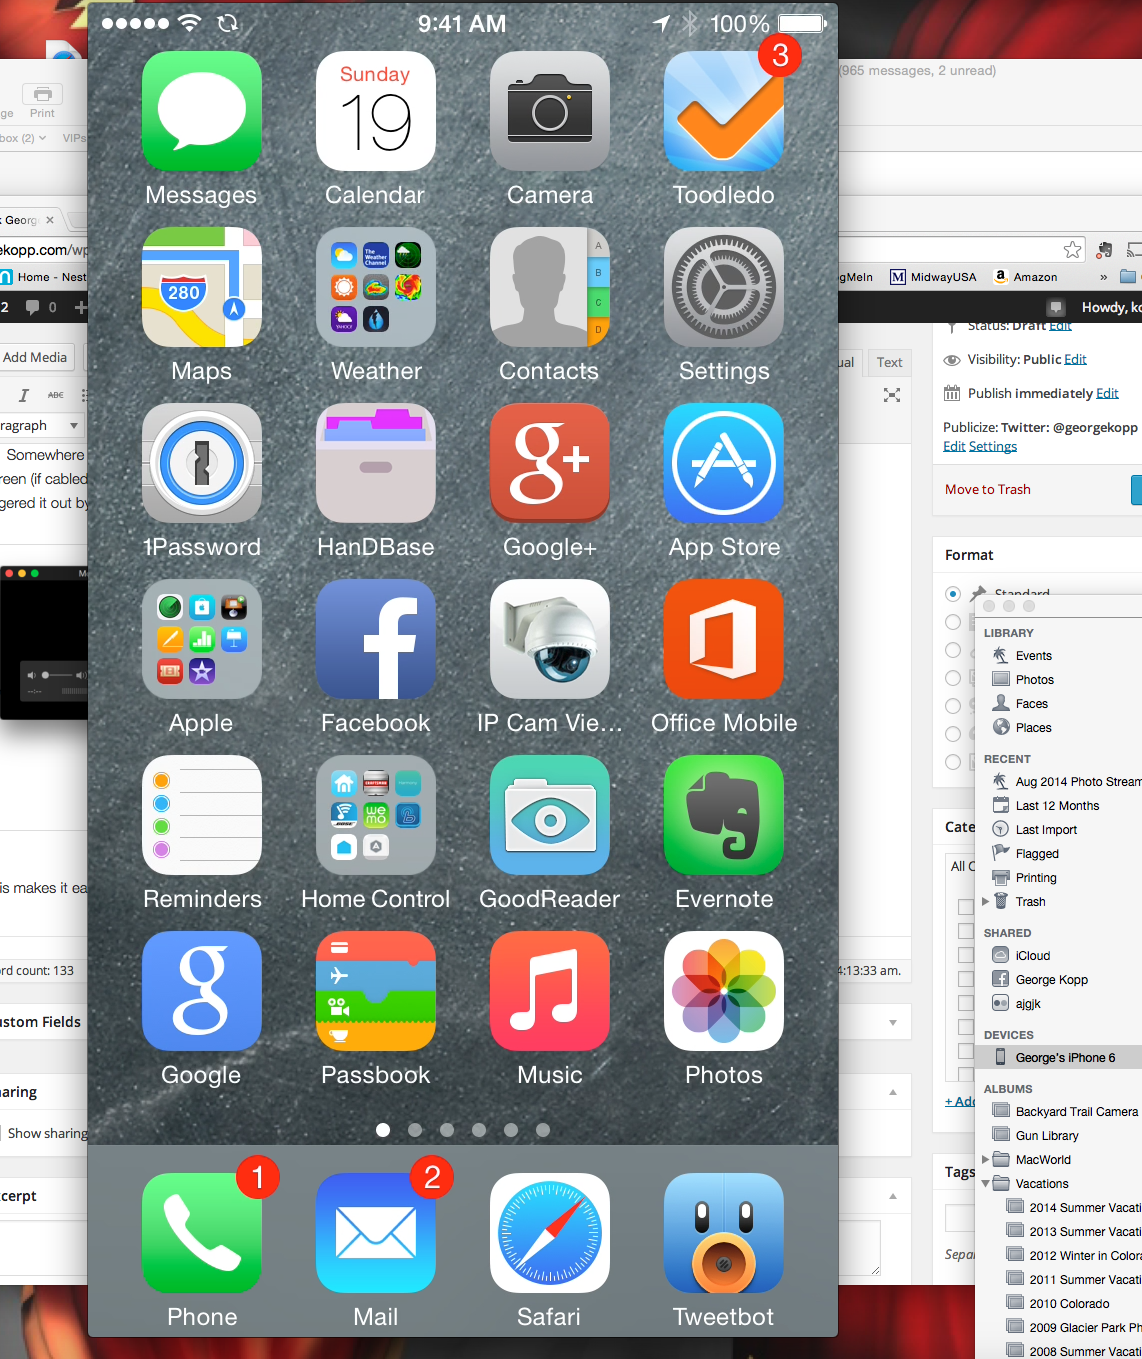
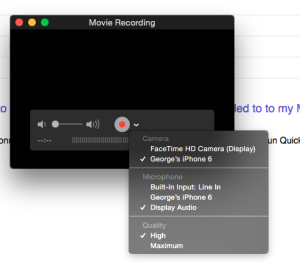 A: Yes, that is one of the new features in Yosemite. Just connect your iPhone or iPad to your Mac using the Lightning connector and it will be automatically available as a video camera. Run Quicktime and select “New Movie Recording in the File menu. Now change the recording source to your phone .