 At this time of year many of you will be taking photographs of your family at Christmas. When people gather around you and you click your phone or your camera to take those photos you have to realize that some of the people in those photos and in those situations may not be with us next year. How tragic it would be to not have their memory available to you in the photograph you so thoughtfully took this year. But even when you consider those things many people don’t think that they can have a loss of data on their computer.
Computers today are amazingly reliable. They can run continuously for years and never had a problem. They can store massive amounts of information and never have a problem recalling it. But computers today are still electronic devices that are susceptible to the same things seen been in the past. Electrical surges, loss due to theft, a simple drop off the table, a failing piece of hardware, are all real world problems that I see all the time. In the past having a backup may have been difficult. Backup software was hard to use or expensive to purchase. External drives to store your back up data were expensive. But none of those things should’ve stopped you then and none of those things should stop me now.
Your memories are too valuable to you to risk their loss. Hard drives are inexpensive for backup, costing less than $100 and lasting for years. But I hear all the time great reasons for not backing up your data. So if you’re one of the few people that I’ve talked with who have decided not to back up due to one of these reasons, take a minute and reflect on how silly some of the sound.
The top 10 reasons you don’t have a backup
10. I have my important files on a thumb drive
Thumb drives are handy particularly for moving files from one place to another. But the cost of thumb drives today don’t make sense for backing up your data. Many people have hundreds if not thousands of gigabytes of data and to have enough thumb Drive storage for all of this would be prohibitive. Plus what’s easier to lose Van a small thumb drive? Backing up your files and making this your only storage for back up is not a smart way to go.
9. I can always use drive savers to recover my data if I have a problem.
Drive savers is a wonderful company that has saved many people by restoring unreadable and failed hard drives. They’re extremely good at what they do and unless there’s been a catastrophic drive failure can usually get the data back. But expect to pay. And pay through the nose you will.
Data recovery companies know they have you over a barrel and charge for it The kind of clean room it takes to be able to do this kind of data recovery is expensive. I once had a client who lost their entire business due to a raid system drive failure. 14 drives RAIDed together and none of the drives failed, but the RAID controller did. The files were mission-critical and he sent them off to drive savers. Drive savers recovered every bit of data. And send him a bill for over $27,000.
So yes data recovery companies can save you. But you have to really need the data you be willing to spend that money. Many people ask me about this option in times of a loss. But only one has ever been willing to pay the cost.
8. Backing up is too complicated
All of the commercial operating systems today have built-in backup. It’s all easy to set up and does it for you once it’s set up. It may be complicated for you to set it up but I can help you with that for 30 minutes worth of my time. And once it’s set up it does it for you. I just can’t see this as an excuse.
7. I’ll forget to do it anyway
See item 8 above. Once it’s set up backup can be automatic.
6. It’s not going to happen to me
Famous last words. You may have used computers for 20 years now and never had one fail but you also now have 20 years worth of data to lose if yours fails today. Computer components are electronics. Spinning hard drives still have bearings that go out. If you really believe it’s not going to happen to you you’re just fooling yourself. The law of averages says one day you’ll have a data loss and if you’re not prepared for it think house silly you’ll feel if this was your excuse.
5. My data is just not that important
Some people don’t believe they create anything on the computer. They just use it for email and web surfing. They may store a few pictures but nothing really important. But thoughts change when you’ve lost data. You remember the taxes that you have stored. You remember the pictures of uncle Gus who’s no longer with us. You remember your business papers. You remember just how important your date is to you.
4. Running a back up slows down my computer
If your backup software is set up correctly it can back up in the middle of the night when you’re not using your computer. If you’re backup is incremental you’re only copying files that have changed since the last back up. Sure, the first backup takes a long time but after that backups can happen in minutes. In the time it takes you to grab a coffee your computer could be completely backed up.
3. Managing back up files takes time
Today’s backup systems manage their data automatically. When the drive fills up it deletes the oldest copies of the files in the back up. You never have to touch it and you never have to sort it. If you use a laptop you just have to plug the drive in periodically and let it back up.
2. Backing up cost too much
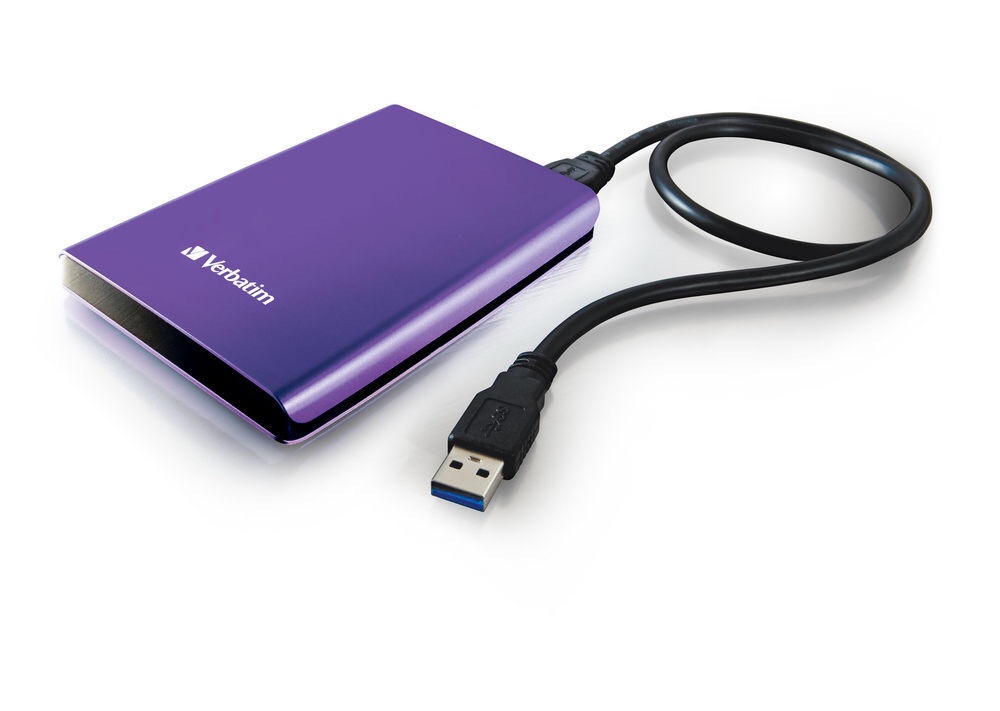
For the cost of an external hard drive you can be completely backed up. You don’t need any expensive software because your operating system already include software to do the back up. External hard drive can be purchased for less than $100. Aren’t your memories worth that?
1. I was going to run a back up tomorrow
How many times of I heard someone tell me that they don’t have a back up but they planned to run one tomorrow. Some people still believe tomorrow never comes. The time to back up is today not tomorrow.
So where do you fall in this list of reasons? Do any of these sound familiar? I hear them all the time. I tweeted out about two weeks ago to people that follow me “backup backup backup” but unfortunately this week I ran into another situation where a hard drive failed and there was no backup. Don’t let this happen to you.
Take advantage of the after Christmas sales to buy a backup drive. If your backup drive is over three years old maybe it’s time to replace it with a larger one. If your date is truly important to you maybe you need two copies of a backup with one stored off site.
Perhaps a Christmas gift for yourself this year should be sitting down with me for an hour and discussing your backup plan. It could be the best hour of consulting you’ve ever spent.