 When I purchased my Mac Mini, I was excited about the fact that I was going to have much more space on my desk. And for a time, I was able to do that. But, over time when I needed additional disk space, I needed to add external hard drives to give me that space. I’ve always been one to purchase external hard drives based upon price.
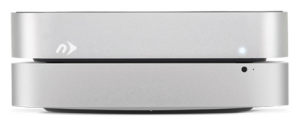
I typically buy whatever is on sale locally. Unfortunately, that has allowed me to have a number of dissimilar drives that all take up space on my desk. I was excited to see NewerTech’s miniStack drive because the form factor of this drive was the exact size of the current Mac Mini. This allows me to place the drive under my Mac Mini and an additional space without using up more disk space.
I was fortunate enough to be able to tryout one of these units with a 1 TB hard drive built-in to see how it performs and how looked when set up with my system.
NewerTech’s miniStack has a number of ports on the back that allow you to be able to connected with either FireWire 800, eSATA (which doesn’t make a lot of sense in the Mac world), or by the common USB3 port that comes on the current model Mac Mini. Since USB3 is faster than Firewire 800, I chose to make the connection with the included USB3 cable.
If you were using Firewire 800, NewerTechnologies was thoughtful enough to include an additional passthrough port for other Firewire devices. Unfortunately, to get additional USB3 ports you need to move up to NewerTechnology’s miniStack Max unit that provides additional USB3 ports and an SD card reader. This unit also allows for a DVD or Blue-ray drive to be included inside.
After placing the drive unit under my Mac Mini, I plugged in the power adapter and the included USB3 cable. Unfortunately, the power adapter included was a large brick type of adapter that required a wide plug to be plugged in. It would’ve been slightly better had a power adapter been built-in internally so the plug-in would only require a standard spaced plug.
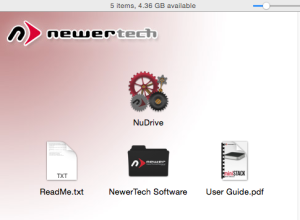
After the initial setup, I was presented with an icon for the new drive software to be installed. I ran the installer and selected the recommended easy-setup option. Having to run software to install a drive was somewhat foreign to me, but running the utility, I accepted the defaults and was presented with an icon for the drive on my desktop. For users who do not install a drive very often, this method of setup is quick and easy. Other options in the process would allow for multiple partitions to be setup if the user wants them.
On the drive was a bundled package of Speedtools OEM version and Prosofts Data  Backup 3. In general, these utilities are a little dated. but still functional if you’re using the correct operating system. Windows utilities were also included. For my use, I chose to use Carbon Copy Cloner to do my backup since I already owned it and was familiar with it.
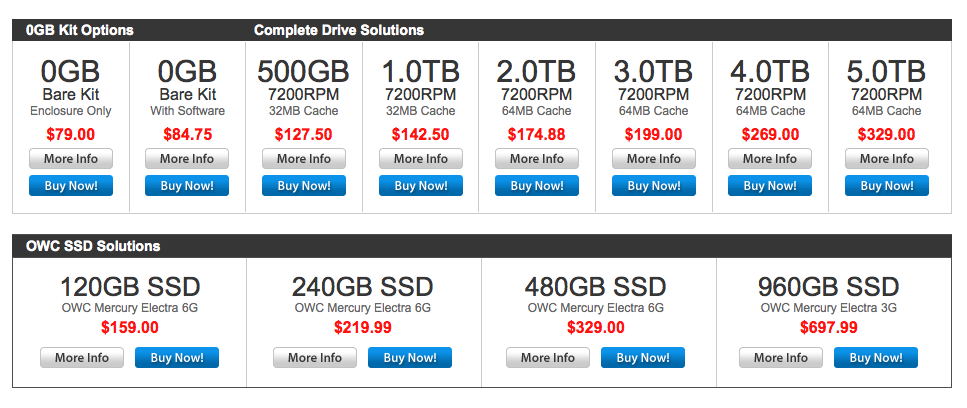
The miniStack drive is available in drive sizes up to 5TB or as a bare unit without a drive. If you really want fast storage, you can also get it with a Solid State Drive SSD in 120GB to 960GB sizes.
 Once the drive was setup and formatted, it was easiest to use just as any other drive on a Macintosh. I set up a Carbon Copy Clone task and copied my main drive due this new drive as a backup. That all without a hitch. Speed was as good as any USB3 drive that I’ve used before. The fan in the drive proved to be very quiet. It did not add much noise to my working environment. While there is a switch on the back of the drive, I doubt that I will use it as I will allow the Mac to continue to run almost all the time.
If you’re looking for a small footprint drive for your Mac Mini, NewerTechnologies many stack is a great solution. The footprint is exactly the same as the Mac Mini and by having a USB3 port it complements the drive internal to the Mac Mini. If you have an older Mac with a FireWire 800 port, and you’re looking for a drive to be able to use it with, the miniStack is also a good choice.
