iBooks Enhancements in MacOS 10.11.4

Screen Shot 2016-03-25 at 3.51.21 PMIn the last update of MacOS and iOS, Apple quietly added a huge new feature to iBooks.  iBooks has been a great way to store PDF documents on your Mac and on iOS devices to be able to reference them when you have the need.  One feature lacking has been the ability to store these PDF’s and have them sync with all your iOS and MacOS devices.  In the latest version updates there was the following update statement:

“Adds the ability for iBooks to store PDFs in iCloud, making them available across all your devices”

Finally, your PDF files transfer to iCloud and can be installed on other devices you own.  Unfortunately, Apple really did not talk about how this works.  In both the MacOS and iOS, a dialog box asked if I wanted my iBooks PDF’s stored in iCloud.  Upon agreeing, the PDF documents began to sync….slowly….

Apples help on iBooks added this section to describe these new features:

Sync and save PDFs
The first time that you open iBooks after you update to iOS 9.3 or OS X 10.11.4, you’ll be prompted to use iCloud. Learn more about syncing your books and PDFs using iCloud.

You can also add PDFs to your iTunes library on your computer by dragging and dropping the PDF into your iTunes Book library. The files will appear when you are preparing your device to sync. If you’re using OS X Mavericks or later, drag and drop your PDFs into your iBooks library using iBooks for Mac. All PDF or iBook files in your iBooks library are available to sync to your iOS device via iTunes.

To sync a PDF from your computer to iBooks on your iPhone, iPad, or iPod touch:

  1. Select your iOS device. (Learn how to sync your data with iTunes.)
  2. Under Settings, click Books.
  3. Select Sync Books.
    If iTunes is set to sync only selected books, make sure that there’s a check in the checkbox next to the PDF you want to sync.
  4. Click Sync.

    You can also use iTunes to back up your PDF files. To transfer PDFs to your computer and back them up, transfer purchases from your iOS device to your computer. These files are not in an iTunes Backup. Learn more about what’s contained in iTunes and iCloud backups.

But there are still a few questions:

  • Where in iCloud are they stored?
  • How much space is allocated to iBooks
  • Can I remove a book from any single device without deleting it?

I have searched the web extensively and no one is answering these questions so stay tuned to see if someone steps up and addresses the particulars of this new application feature.

Mac Ransomware found in the wild…… Don’t panic!

AttachmentUpdate:  With the help of security researchers, Apple over the weekend quickly blocked a cyberattack aimed at infecting Mac users with file-encrypting malware known as ransomware.

Facebook, Twitter, and the headlines on all the computer new sites this morning are counting the first occurrence of Mac ransomware found in an application distributed to users computers.  In fact, I’ve already had emails from people I provide support for worried that they may be infected. Here are a couple of things that are important to understand about Malware such as this.

Here is the description of the malware that was found from Appleinsider’s website:

“Users who downloaded the Transmission BitTorrent client on Friday or Saturday are being warned to update to the latest 2.92 version to avoid being targeted by a ransomware that infiltrated an earlier version of the open source software…… The malware then “demands that victims pay one bitcoin (about $400) to a specific address to retrieve their files.” Researchers say the malicious code is “under active development” and seems to be trying to also encrypt users’ Time Machine backups to also prevent them from being able to recover their backed up data.”

So basically, unless you downloaded the transmission bit torrent client recently, you have nothing to worry about this particular instance.

Some of you may ask what is a bit torrent client? Wikipedia says, “BitTorrent is a communications protocol for the practice of peer-to-peer file sharing that is used to distribute large amounts of data over the Internet. BitTorrent is one of the most common protocols for transferring large files, and peer-to-peer networks have been estimated to collectively account for approximately 43% to 70% of all Internet traffic”

Basically, bit torent clients are used to download large files, typically large files such as pirated movies, still in applications, and other things that you can’t make generally available on the Internet.

So again, unless you’re downloading files of this type using this particular software you don’t need to worry about this particular infection.

The big concern about this particular malware is that it’s only the beginning of others that we may see.   Only time will tell, but I fully expect to see more of these in the near future. These types of infections are very prevalent on the Windows side and I have seen a number of computer users lose all their data as a result.

So what’s a person to do?

Back up your data. Not just once, but twice, and keep one copy of the back up not connected to your computer. I typically back up with time machine is my every day back up and then use carbon copy cloner as a secondary back up on a drive it is not mounted to my computer. This way if I were to get infected with something like this, and it were to infect my back up that’s connected, I still have an additional copy of my data to recover from.

People think that’s a little paranoid, but believe me if you ever need to recover files having a second copy certainly makes you feel better. With external hard drive’s running about $60, there’s really no excuse, get a second Drive, purchase Carbon Copy Cloner, and set up a back up routine for yourself. If there are any problems in the future, you’ll be happy you did.


Restore your Chrome bookmarks from Time Machine

Have you ever really messed up your chrome bookmarks on your mac and wanted to restore them from your Time Machine Backup?  Here are the steps to accomplish it.

1) Your Time Machine backup drive needs to be plugged in.

2) Start off by closing all the windows better open on your computer so that you’re only looking at the desktop.

3) From a finder, select the go menu and choose go to folder:  Enter this in the box that has opened:

~/Library/Application Support/Google/Chrome/Default/

Screen Shot 2016-01-27 at 9.01.04 PM

4) Single click on the file in the window named Bookmarks

Screen Shot 2016-01-27 at 9.02.28 PM

5) Now you should have one single finder window open. Next you’re going to want to go to the Time Machine icon. It may be in your dock or it is in the applications folder. Double-click on it to run it

Screen Shot 2016-01-27 at 9.00.46 PM

6) On the right, Select a date that is before the date you deleted the bookmarks.

Screen Shot 2016-01-27 at 9.03.19 PM

7) Once you have selected the date on the right, click the restore button.

8) When it asks if it can replace the one you have now, tell it that is OK.

That should restore the bookmarks to that date.  Run Chrome and check if the folder is back.

The above steps should also be similar to restore any file you need from the Time Machine backup.

How to Backup your Critical iCloud Information

icloud-experiencing-issuesIn the early days of iCloud, it was very common for something to go drastically wrong and iCloud and delete or scramble your data. After seeing this happen many times, I had gotten into a routine where I would back up my critical information by hand from iCloud.  For the last few years I haven’t seen this problem and have become quite complacent about it. Unfortunately, complacency generally feeds disaster, and in my case that almost happened.

The great thing about iCloud is that you can change something one time and it synchronizes around to all of your devices keeping them all up-to-date. Unfortunately that’s also the Achilles’ heel. If something goes wrong on anyone device or if you accidentally delete something from one device it synchronizes to all your devices and the information that you had before may be permanently lost. Such was my recent case with iCloud.

Somewhere along the line in updating to iOS 9.0 or 9.1, and updating my Mac to El Capitan, I came to notice that my Safari bookmarks or not the same as they used to be. Looking at them closely I saw that many of my bookmark categories had been duplicated, others had been rearranged, and if you were missing entirely. It seems that one of those upgrades did something nasty to my bookmarks. And since I had gotten out of the habit of backing up my critical information by hand, my only choice was to go back and fix them all by hand and let them sync again. So that’s exactly what I had to do. I set down at my Mac and made all my changes to get my bookmarks back as nearly as they had looked before the problem.

While investing a couple hours and cleaning up my bookmarks was probably not devastating, it did point out to me that continuing the routine of backing up your critical iCloud information makes good sense.

So what information do you consider critical? For me, that would be my contacts, calendars, Safari bookmarks, and my notes. Apple provides a method to back up by hand the first three but unfortunately the new notes application lacks that ability. So here’s how to handle a back up of the first three pieces of critical information that iCloud stores:

Contacts
Open the contacts application on a mac and go to the file menu and select export. Next select export archive from the menu. Pick a location to store your back up, and name it something that has the date included. This way you’ll be able to tell the newest one if you need to recover.

Calendars
Again on a Mac, open your calendars application go to the file menu, select export, and export a calendar archive. If you’ve been keeping track of calendars for a long time this may take a few minutes. It will again ask a location and I typically use the same naming convention I did with my contacts.

Safari bookmarks
Open Safari on your Mac, and select File and then Export Bookmarks. Pick the same location to store your back up, and name it something that has the date included.

Notes
When it comes to notes that’s another story. You can export individual notes as a PDF file but backing up hundreds of notes that way would be difficult.  If you want to dig down into the bowels of your computer, your notes file is actually stored in…

~/Users/<username>/Library/Group Containers/group.com.apple.notes

Once you selected that folder, you can simply go to the edit menu and say copy. Then paste that file into your backup location. If you can’t find it from the path you probably don’t need to be down in these folders in the first place.

Next I set a calendar alarm to remind me to do this once a month. By doing this monthly I am sure myself but for some reason iCloud has a hiccup, my information will be easily recoverable and reloadable.

OS X El Capitan: Changes in the Spaces Functionality

Spaces has changed a bit in El Capitan.  Apple has a great help article that covers how it works in the new operating system version.  Here is what Apple has to say:

If your desktop becomes cluttered with open app windows, you can create additional desktops, called spaces, to organize the windows. When you work in a space, you see only the windows that are in that space.

You use Mission Control to show the Spaces bar, where thumbnails represent your spaces and apps you’re using in full screen or Split View.

The Spaces bar showing a desktop space, apps in full screen and Split View, and the Add button to create a space
Tip:   Make your spaces unique by assigning a different desktop picture to each one. Just assign System Preferences to all desktops (see the instructions below), then change the desktop picture in each space.

Create a space

  1. Enter Mission Control, then click the Add button  in the Spaces bar.

    You can create up to 16 spaces.

  2. When you’re done, click a space in the Spaces bar or a window in Mission Control.

Move between spaces

Do any of the following:

Swipe left or right with three fingers.

Press the Control key and the Right or Left arrow key.

Enter Mission Control, move the pointer to the top edge of the screen to show the Spaces bar, then click a space.

Move an app window from one space to another

Do any of the following:

Drag the window to the edge of the screen. After a moment, the window moves to the next space.

Place the pointer over the window’s title bar. Hold down the trackpad or mouse button, then press the Control key and the Right or Left arrow key.

From the space that has the window you want to move, enter Mission Control. Then drag the window up to the space you want to use.

If you drag the window onto an app in full screen, you can use the apps in Split View.

Assign apps to spaces

If you assign an app (or System Preferences) to a specific space, the app will always open in that space.

  1. Press and hold an app’s icon in the Dock.

    You may have to first open the app from Launchpad to see its icon in the Dock.

  2. From the shortcut menu that appears, choose Options, then one of the following:

    • All Desktops: The app opens in every space.

    • This Desktop: The app opens only in the current space. If you use the app full screen, it appears in its own space.

    • Desktop on Display [number]: The app opens in the current space on a specific display (if more than one display is available).

    • None: The app opens in whichever space you’re using at the time.

By default, when you switch to an app, the desktop automatically switches to a space that has open windows for the app. For example, if you create a new TextEdit document in Desktop 3, but TextEdit windows are already open in Desktop 2, your new document opens in Desktop 2. To change this setting, choose Apple menu > System Preferences, then click Mission Control.

Delete a space

  1. Enter Mission Control, then move the pointer to the top edge of the screen to show the Spaces bar.

  2. Place the pointer over the space you want to delete, then click the delete button that appears.

    If the space contains open windows, they are moved to another space.

You can quickly stop using an app in full screen or Split View by moving the pointer over the thumbnail in the Space bar, then clicking the exit button that appears.

OS X El Capitan: Display a message in the login window

Screen Shot 2015-10-13 at 2.48.16 PMHere is a great new feature for portable users in Mac OS 10.11, El Capitan.

You can add a short message to the login window that is displayed when your Mac is locked. The message can be anything appropriate to users attempting to log in, for example, to provide information for guest users. The message can also act as a virtual engraving, to provide contact information for a misplaced computer.

  1. Choose Apple menu > System Preferences, click Security & Privacy, then click General.

  2. Click the lock icon  to unlock it, then enter an administrator name and password.

  3. Select “Show a message when the screen is locked,” then click Set Lock Message.

  4. Enter the message you want to display in the login window.

Posted in Mac

My iCloud doesn’t seem to be syncing any more…

imgresHere’s a problem that a number of people have seen since upgrading their Mac or iOS device.

Have you ever wondered if your iCloud information is truly syncing? Sometimes you add a new contact, or a new bookmark, and can’t seem to get it to move to your other devices. ICloud is supposed to sync automatically and normally it does. But once in a while, particularly after an update, I find that parts of iCloud seem to stop syncing. So what’s a person to do.

The easiest way to get iCloud to sync again is to simply toggle off the offending item, such as contacts or bookmarks in the iCloud settings on either your phone or computer. By simply turning it off, and then turning it back on, often times the sync resumes normally. Generally, when you turn the sync back on for the particular item such as bookmarks, iCloud will ask if it’s okay to merge the information from your device with the information in the cloud. Since most of the information is the same, merging will accomplish the sync that you’re looking for and put all of the information on your device. So when asked, Tell it that it’s okay to merge.

While we all realize, we shouldn’t have to go through this process, this is certainly a simple method to get all of your information in iCloud back in sync on all your devices.

AdwareMedic Mac Malware Remover is now Malwarebytes

Screen Shot 2015-07-31 at 3.25.33 PMI have talked a number of times before about how Malwarebytes was the primary tool I used to remove  malware on a PC.  It is always been a great tool and always had a free version that allows me to use it on clients computers.  I’ve also mentioned that malware, or more accurately, Adware,  is now becoming a problem on the Mac and that I use a tool called Adwaremedic to remove malware on it.

Today, I updated Adwaremedic and found that Adwaremedic is now called Malwarebytes Mac.  I think this is a terrific change!  Malwarebytes on the PC has been dependable for years and is really the go to product for PC malware.  To have this company now cleaning malware on the Mac will be a good think.  They definitely have the expertise to do malware removal and Mac users should be able to depend on them too.

The next time you have Adware or popups on the mac, go to Malwarebytes to get your malware cleaner on yourMac.  You can’t go wrong with them.


Migrate or Clean load your Mac: The Digital Cleanse

Screen Shot 2015-07-09 at 1.05.46 PMMacs are not Windows computers. With Windows machines, after about 24 months of use, if you can go that long without a virus, the computer just seems to slow down and often the only solution is to reload fresh. A Macintosh can go much longer before starting to feel slow and lethargic.  Performance degradation on a Mac is often times related to how much software you install on the computer. If you’re one of those people that tries out new software often, a digital cleanse will sometimes make a big difference in the performance of your machine.

By and large the best time to make the decision is when you change computers. Built into the Mac operating system is the ability to migrate from one computer to another. That migration process brings along all of your settings and configuration making the new machine look and feel just like the old one. Typically, a new computer is going to be faster and may mask the fact that there’s lots of leftover software and settings from old applications you no longer use. So often times making the decision to clean reload the computer rather than migrate will provide much better performance in the end.

Screen Shot 2014-05-12 at 1.24.18 PM
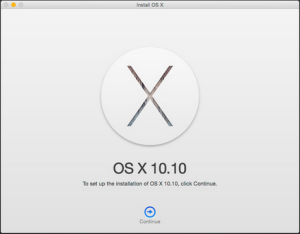
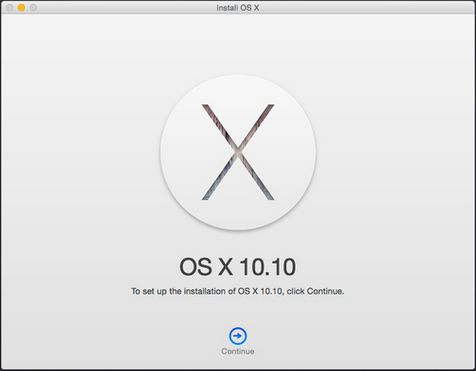
So let’s say you made that decision that it’s time to do a clean reload. What are some of the things that you need to be aware of and prepare for when you begin that process. I’ve decided to compile the top 10 list of things to think about as you prepare to do a clean Macintosh reload.

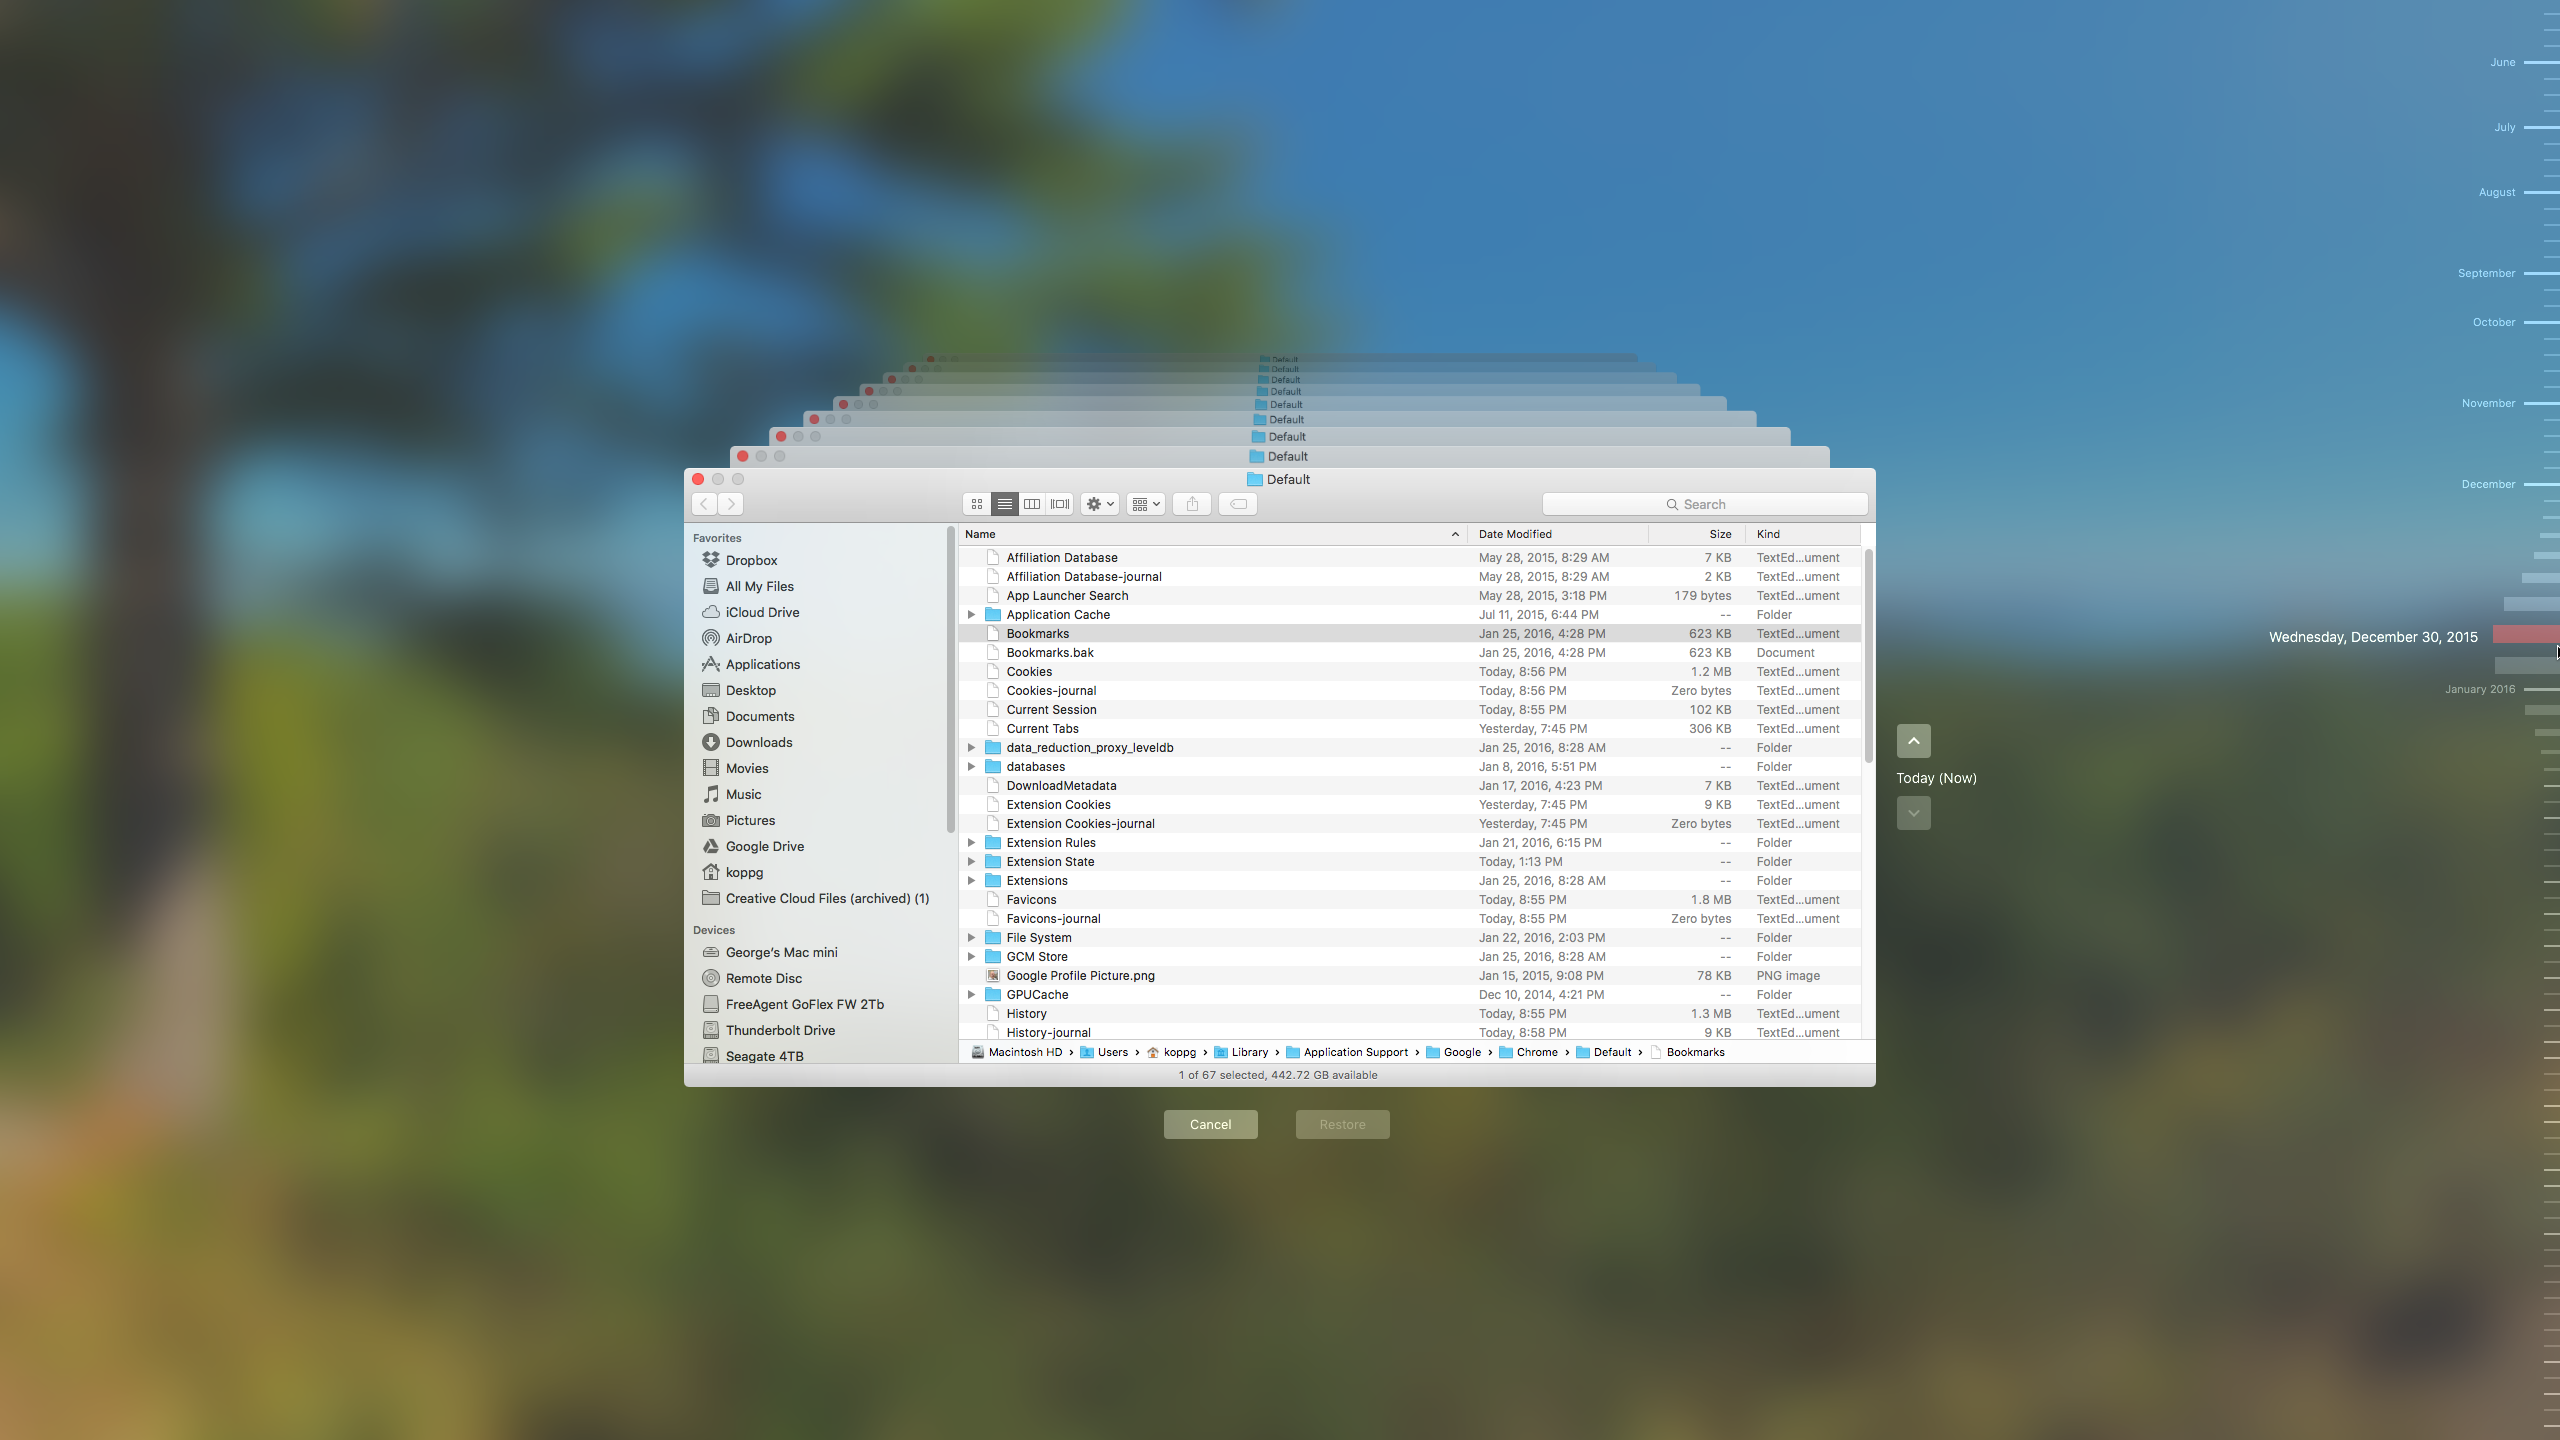
10.  Before you start make sure you have two backups. Every Mac User should have a single back up at least. Most users will use Time Machine to back up your computer and I highly recommend that. But if you’re going to do a clean reload or migrate your computer by hand, you need to have a second backup. Time Machine is great for recovering individual files or recovering your entire computer. What you need in this case is a backup that you can go in and look at the files. I recommend using Carbon Copy Cloner for this purpose. You could also use Superduper or even the restore functionality of disk utility if you choose. You’ll also need an additional hard drive to make an exact copy of your main hard disk before you begin any process of doing the reload. This becomes very important when you’re copying files back to your new cleanly loaded machine. If you have to pull files out of a Time Machine backup the odds of missing something or inadvertently copying things that are going to again slow your machine down is very high.

9.  Make a list of your applications.  You want to make sure you don’t miss anything. Look in your applications folder and make a list of all the applications that you use. This is a great opportunity to decide what applications you don’t use and not install them on the new machine or reload.

8.  Round up all your software install disks, or identify where you’re going to get your software from.  Don’t forget license keys. You’ll also need the license keys for any software you reinstall that has a key. One benefit of downloading your software from Apple’s App Store is that you can easily reinstall it back on your computer at any time without having to remember license keys. But not all software is available that way.

If you use Adobe applications such as Creative Cloud, you need to be sure that you deactivate them on the old computer before beginning the process. Otherwise you’ll have difficulty activating them on the new machine.

7.  Passwords. Make absolutely sure you have passwords written down, or better yet stored in a password manager such as 1Password so that you can  re-login to websites, re-authenticate your mail, and have access to all of your files in cloud-based file services.

6.  Clean reloads take time. Be sure you allow yourself enough time to be able to complete this. It’s always best to do it in one setting so that you don’t miss anything. If you reinstall the operating system, from the recovery partition, you’ll need to be prepared for the long download that could take as much as three or four hours.

5.  Don’t forget to apply all the updates. Overtime your software applications have been updated. If you reinstall them from the original disk that you purchased them on, be prepared for updating those applications too. A product like Microsoft Office Will sometimes have to be updated four or five times so continue to run the updater until it tells you no more updates are available.

4.  Install up-to-date software versions were possible. Sometimes an application may need to be updated to run on the latest operating system. We often see this happen when you’re moving from an older computer to a newer computer. Some of your most important software that you use every day may not be run on the  new version of the operating system causing you to have to purchase an update. Do your research first after you make your application list to see what you might have to purchase to run on the new operating system.

7ae57ab93.  Use iCloud to your advantage. iCloud has the ability to store contacts calendars bookmarks etc. Be sure iCloud is turned on and is syncing those items on your computer before you start. More  importantly, be sure you log into the same Apple ID on the new computer to get that information pulled back out of the cloud easily.

2.  Don’t run the included Apple applications until you copy your data back. Many of Apples applications use data files such as an iTunes library, or a photos library. If you run these applications before you copy your data back it will create a new blank library causing you problems when you finally move your stuff back. Avoid running any of these until all your data files have been copied back and be sure to test those applications and verify your photos, music, movies, etc. are all still there.

And finally, the most important thing to verify…….

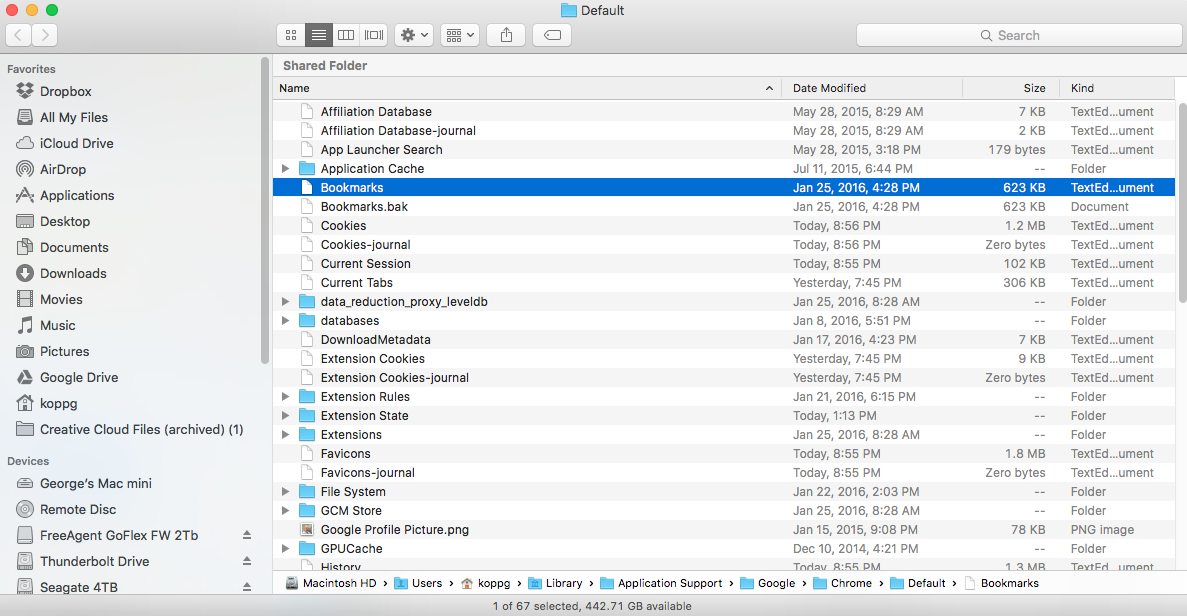
1. Since you’ll be copying all your files back from the carbon copy cloner disk by hand, make absolutely sure everything copies correctly. If your are storing your files correctly, they will be within your user folder on the backup and can be copied a folder at a time to the new or reloaded machine.  Sometimes if you’re copying lots of files at one time the file copy may crash and not finish. In those cases, it leaves some of the files off of the new machine. Check folder by folder to make sure you have everything back on your newly loaded computer.
if you follow all of these tips, doing a clean reload or a digital cleanse maybe able to improve your performance of your existing computer or make your new computer run even better.


Newer Technology Mini Stack Drive – A Nice addition to a Mac Mini

Screen Shot 2015-07-02 at 2.24.11 PMWhen I purchased my Mac Mini, I was excited about the fact that I was going to have much more space on my desk. And for a time, I was able to do that. But, over time when I needed additional disk space, I needed to add external hard drives to give me that space. I’ve always been one to purchase external hard drives based upon price.

I typically buy whatever is on sale locally. Unfortunately, that has allowed me to have a number of dissimilar drives that all take up space on my desk. I was excited to see NewerTech’s miniStack drive because the form factor of this drive was the exact size of the current Mac Mini. This allows me to place the drive under my Mac Mini and an additional space without using up more disk space.

I was fortunate enough to be able to tryout one of these units with a 1 TB hard drive built-in to see how it performs and how looked when set up with my system.

NewerTech’s miniStack has a number of ports on the back that allow you to be able toScreen Shot 2015-07-02 at 2.24.19 PM connected with either FireWire 800, eSATA (which doesn’t make a lot of sense in the Mac world), or by the common USB3 port that comes on the current model Mac Mini. Since USB3 is faster than Firewire 800, I chose to make the connection with the included USB3 cable.

If you were using Firewire 800, NewerTechnologies was thoughtful enough to include an additional passthrough port for other Firewire devices. Unfortunately, to get additional USB3 ports you need to move up to NewerTechnology’s miniStack Max unit that provides additional USB3 ports and an SD card reader. This unit also allows for a DVD or Blue-ray drive to be included inside.

After placing the drive unit under my Mac Mini, I plugged in the power adapter and the included USB3 cable. Unfortunately, the power adapter included was a large brick type of adapter that required a wide plug to be plugged in. It would’ve been slightly better had a power adapter been built-in internally so the plug-in would only require a standard spaced plug.

After the initial setup, I was presented with an icon for the new drive software to be installed. I ran the installer and selected the recommended easy-setup option. Having to run software to install a drive was somewhat foreign to me, but running the utility, I accepted the defaults and was presented with an icon for the drive on my desktop. For users who do not install a drive very often, this method of setup is quick and easy. Other options in the process would allow for multiple partitions to be setup if the user wants them.

On the drive was a bundled package of Speedtools OEM version and Prosofts Data Screen Shot 2015-07-02 at 3.06.05 PMBackup 3. In general, these utilities are a little dated. but still functional if you’re using the correct operating system. Windows utilities were also included. For my use, I chose to use Carbon Copy Cloner to do my backup since I already owned it and was familiar with it.

The miniStack drive is available in drive sizes up to 5TB or as a bare unit without a drive. If you really want fast storage, you can also get it with a Solid State Drive SSD in 120GB to 960GB sizes.

Screen Shot 2015-07-02 at 2.25.16 PM
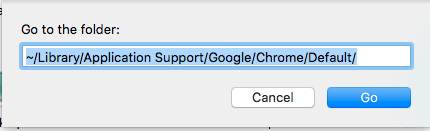
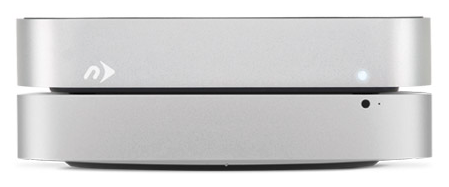
Once the drive was setup and formatted, it was easiest to use just as any other drive on a Macintosh. I set up a Carbon Copy Clone task and copied my main drive due this new drive as a backup. That all without a hitch. Speed was as good as any USB3 drive that I’ve used before. The fan in the drive proved to be very quiet. It did not add much noise to my working environment. While there is a switch on the back of the drive, I doubt that I will use it as I will allow the Mac to continue to run almost all the time.

If you’re looking for a small footprint drive for your Mac Mini, NewerTechnologies many stack is a great solution. The footprint is exactly the same as the Mac Mini and by having a USB3 port it complements the drive internal to the Mac Mini. If you have an older Mac with a FireWire 800 port, and you’re looking for a drive to be able to use it with, the miniStack is also a good choice.

Price varies from $79 to $693 depending on Drive size and type.
For more information check out the Other World Computing website.