People often ask me a question about their email. They question whether they need an additional email address over the one that their Internet service provider normally provides. For many people, using the Internet email address put your service provider provides is fine. Some people, for business or professional reasons, would like to have an additional address that they can use for those purposes. Other people feel that an additional email address, to use for sites that they register on, or for companies who insist upon having your email address, is a good idea to help reduce spam. I would like to advocate you have more than one email address that you use. I think that it’s important for you to protect the use of your primary email address from it becoming a spam mailbox. Using an additional email address for this purpose is a good way to prevent that from happening.
But how many email addresses do I need?
There was a time when retrieving email from multiple providers was a difficult thing. It often requires you to log onto different websites and retrieve mail one site time. In some cases, it even require you to run a specialized piece of software provided by that email vendor that allows you to get email from them. But these things of changed. Today is easy to configure your email client to pick up multiple email addresses and merge them together into a single inbox for you to look at. It’s also simple to segregate those email addresses based upon the way you use them. For instance, if you have one particular email address that you use for signing up for coupons, you can have all of those coupons put in one location that you can then look at at your leisure.
My rule of thumb is that many people need three email addresses. First off, you need your primary email address that you use with friends and family. These are people that you want to be able to contact, and you want to make sure that that email address does not get compromised with spam. Secondly, I’m a strong advocate of using a throwaway email address, that you can get free from many providers, for signing up for things that you dont care if you lose contact with. If this address is sold by someone who you’ve provided it to, and ends up on the spam list, you can easily delete this email address and create a new free email address for this purpose. Finally, many people that work, have an email address provided by their employer. Others who work for themselves, have a need to segregate their work email from the personal email. So many people will need a third email address for this purpose.
Applications such as Windows live mail, or mail on the Mac, allow you to easily set up these email addresses to all be retrieved the same time, show up in a single inbox if you like, and provide rules for what to do with emails that are on specific subjects. Even higher in applications such as Microsoft outlook allow you to do the same thing. In this way, having multiple email addresses becomes transparent to you as a user.
Where do I get another email address?
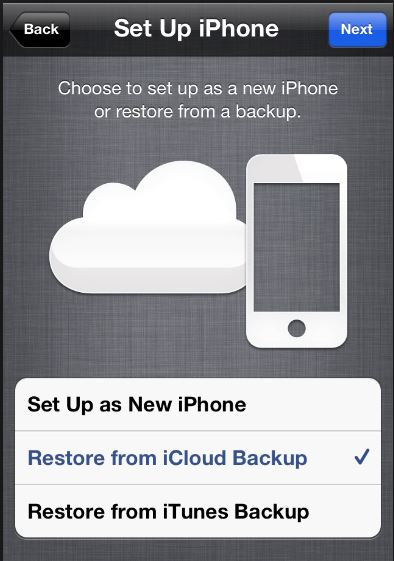
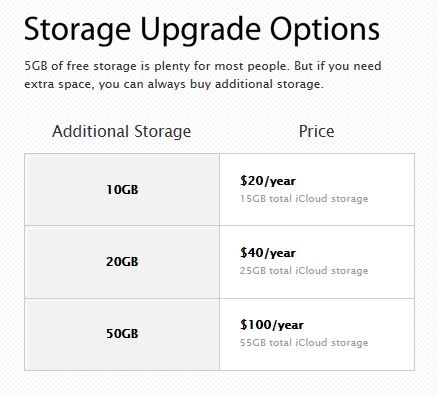
First off, if you’re setting a new email addresses you may want to consider using a high-quality free email service is your primary personal email address. This way, if something causes you to change Internet service providers, you do not lose contact with those personal friends and family that are most important to you. My first recommendation would be to use Gmail for this purpose. Microsoft also provides Outlook email at Outlook.com that’s a free email and also has very good performance. Apple will provide you an iCloud email address for free also. One caveat with the Apple iCloud email address. If you’re using iCloud on the computer to synchronize contacts and calendars, you can only have one iCloud address active at any one time.
Other providers such as AOL, or Yahoo, also provide email addresses for free. Many people consider AOL, Yahoo and Hotmail spamming email addresses due to the fact that these email addresses of been around a long time and are often thought of as email services with high spam content. I would also caution against using one of these three email addresses as your business email address. There’s something about doing business with someone with a Hotmail account that makes people uneasy.
[stextbox id=”info” caption=”Types of Email Arddresses”]
Personal Email Address – your most prized email that you protect aginst spam. Only give this out to friends and family.
“Throw away address” – one you can give to everyone. If it becomes too much of a spam pot, you can delete it and start over with another free one.
Business Email Address – an address that you use strictly for business purposes.
[/stextbox]
If you follow this idea, and have more than one email address, you’ll find that your primary email address it’s less difficult to deal with and you’re able to continue to use it for much longer period of time.

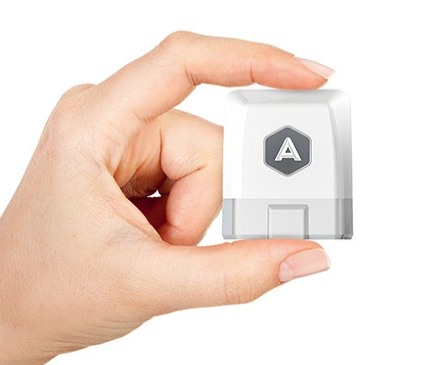
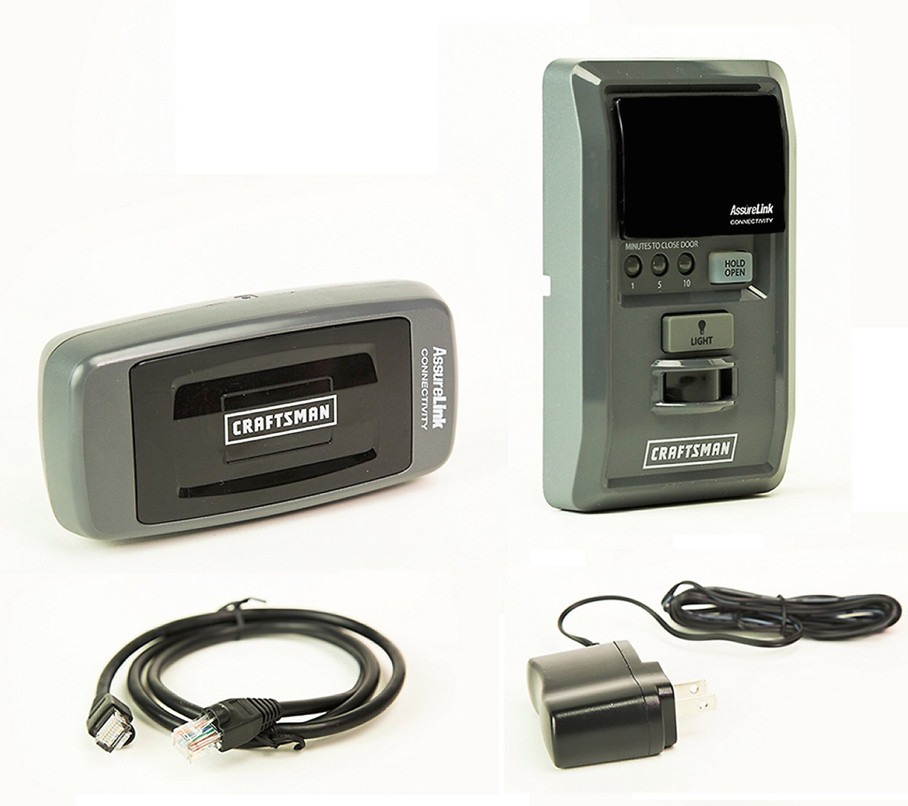 Have you ever forgot to lower your garage door? Or worse yet, have you ever been unsure if you left it open or closed? The Sears Craftsman Assurelink Garage Door Opener is just the ticket for these times. This opener connects to your home internet and allows you to open and close the door from your smatrphone. Assurelink allows you to monitor and activate your garage door from the web, so whether you’re fishing at the lake, in a hotel on business, or stuck in downtown traffic, you can know for certain that your home is safe and secure.
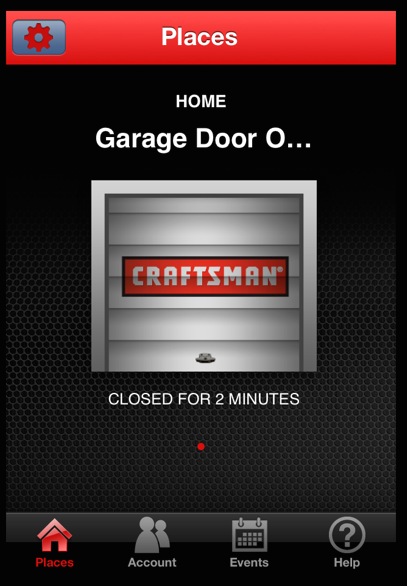 The app for your phone allow you to check the status of the door and to open or close it. It requires a 4 digit password to open so that someone playing with your phone cannot accidentally open the door.